Head (or Body) Integration - Creating a new Model Set
Examples are given for Windows (64-bit 7,8 or 10) but can also be used on OS X or linux, except where an interactive GUI is invoked. The 'fgbl' or 'fg3' executables can be used instead of 'fgrt'.
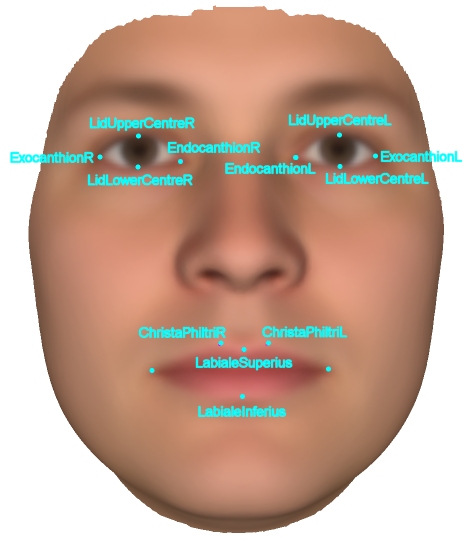
You've created your own head mesh and want to integrate it into FaceGen. Take the highest density version of your head mesh, remove any non-skin surfaces such as eyelashes, and export this 'fit' version to OBJ:
head_fit.obj
Export all your base meshes for the model set, for example:
 head.obj
 head_lores.obj
 body.obj
 hair.obj
 beard.obj
Convert all to TRI, for example:
> fgbl mesh convert head_fit.obj head_fit.tri
If you have your own animation morphs (aka blendshapes), add them to these .TRI files.
All models must be morphed into the FaceGen base shape to be ready for integration. Your coordinate system will not be not changed. This must be done on Windows unless you programmatically specify the required surface points on 'head_fit.tri' so that their GUI placement is not required:

> fg3t nrr head_fit.tri fg head.tri head_lores.tri body.tri hair.tri beard.tri
This creates a series of shape-transformed base meshes:
 fg_head.tri
 fg_head_lores.tri
 fg_body.tri
 fg_hair.tri
 fg_beard.tri
Along with the internal base face in your coordinate system:
fg_internal.tri
The 'nrr' command only matches your mesh shape to the extent that the FaceGen internal shape statistics allow. If you want an exact match, you should now manually edit 'fg_head.tri' and 'fg_head_lores.tri' to exactly match 'fg_internal.tri' (using separate 3D modelling software via the OBJ format).
If you want to copy the FaceGen animation morphs, for instance from our 'Animate' model set, you first need to copy an open-mouth pose manually, for instance "Phoneme: big ahh". First, get the morph index:
> fgrt morph list HeadHires.tri
Then use that index (delta morph 15 in this case) to output to OBJ:
> fgrt morph apply HeadHires.tri HeadHires_bigahh.obj d 15 1.0
Copy this shape to your new shape-transformed base head, saving the result to:
fg_head_bigahh.obj
Now you can copy across all the animation morphs from HeadHires.tri:
> fg3t morphx HeadHires.tri -o HeadHires_bigahh.obj fg_head.tri -o fg_head_bigahh.obj
You can define a neck seam where there will be no shape deformation, in order to seamlessly fit to the body mesh. This isn't a requirement, however not doing so will mean that you will need to transform the body mesh shape to ensure a seamless fit for each face, which will require extra memory and compute time. You can specify the neck seam by exporting just the neck seam vertices from fg_head.tri (convert to OBJ for editing):
fg_head_neck_seam_verts.obj
Or, on Windows, you can interactively mark the vertices composing the neck seam:
> fgrt view mesh fg_head.tri
In the 'View' -> 'Render' tab, ensure that 'Marked vertices' is selected. In the 'Edit' tab, in 'Vertex Selection Mode', select 'Edge Seam', then ctrl-shift-right-click on the surface near a vertex on the neck seam to automatically mark all seam vertices. Click 'Save Pre-Morphed Mesh 0' to save:
fg_head_neck_seam_marked.tri
Create the SSMs, for example if we specified the neck seam using marked vertices:
> fg3t ssm fg_internal.tri -hires -fm fg_head_neck_seam_marked.tri fg_head.tri fg_head_lores.tri fg_hair.tri fg_beard.tri
Create the SCMs, for example if we require a large texture image for the hires head:
> fg3t scm fg_internal.tri fg_head.tri 512
But a smaller faster one for the lores head:
> fg3t scm fg_internal.tri fg_head_lores.tri 256
And a very small one for the body (since it will be constant color):
> fg3t scm fg_internal.tri fg_body.tri 32